Everything you need to ship a production-ready dbt project from day one
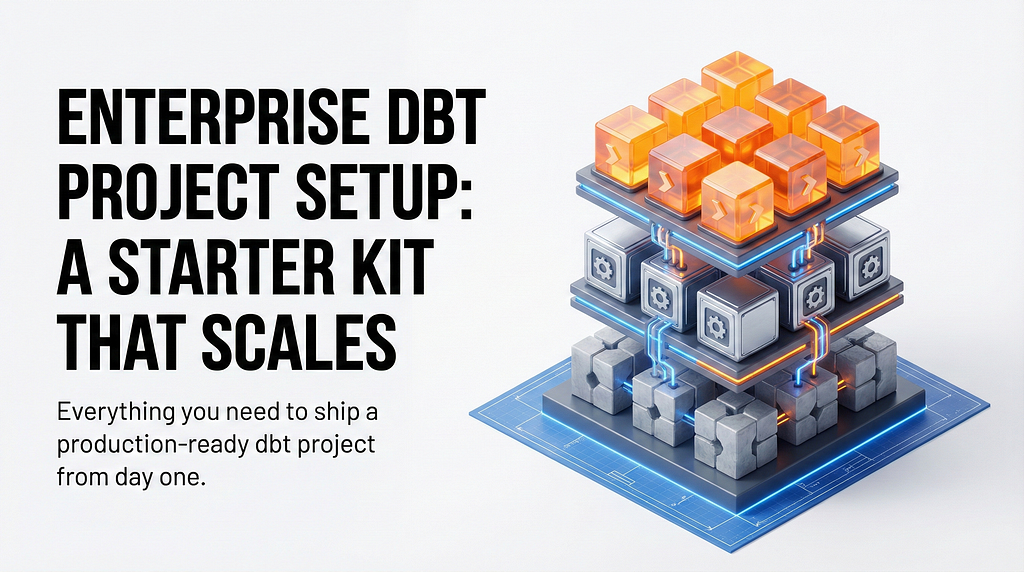
Every dbt project starts the same way. Someone creates a new repo, runs dbt init, and thinks: "We'll add proper structure later." Six months pass. The project has grown, three more engineers are contributing, there's no consistent naming convention, no CI pipeline, no metadata validation, and nobody really knows which models are safe to change. The technical debt is real, and now fixing it requires a weekend nobody wants to give up.
We’ve seen this pattern enough times to stop accepting it as inevitable. So we built a starter kit that bakes in enterprise-grade practices from the very first commit. This article walks through what’s in it, why each piece exists, and how it saves you from the most common pitfalls when scaling a dbt project in an organization.
The template is available on GitHub. Clone it, adapt it to your stack, and skip the painful lessons.
The Folder Structure That Won’t Haunt You Later
The first decision a dbt project makes is how to organize models. Most tutorials show a flat models/ folder. That works fine for ten models. At a hundred, it becomes a navigational nightmare.
The starter kit uses a strict three-layer structure:
project/
  models/
    staging/       # source-aligned, one model per source table
    intermediate/  # reusable business logic
    marts/         # final facts and dimensions consumed by BI tools
  macros/
  analyses/codegen/
  tests/unit/
  seeds/
  snapshots/
The staging layer is about faithfulness to the source. Each model in staging/ maps one-to-one with an upstream table, does light cleaning (casting types, renaming columns, filtering deleted records), and nothing else. No business logic lives here.
The intermediate layer is where business logic becomes reusable. If you find yourself writing the same join in three different marts, it belongs in intermediate/. This layer is often skipped on smaller projects, and that is precisely when it starts being missed.
The marts layer is the public API of your data warehouse. These are the models your analysts and BI tools actually touch. They should be stable, well-documented, and tested.
This separation matters for onboarding. A new engineer joining the team can look at the folder structure and immediately understand how data flows through the system. That clarity has real value.
Keep in mind this is the most basic separation. You probably should adjust it to your business needs. For example each source could use it’s own folder inside of staging layer.
Metadata Contracts
This is the part of the starter kit that gets the strongest reaction. When I tell people that every model must have contract.enforced: true in its config, alongside a data_type and description on every column, the immediate response is usually: "That's a lot of overhead."
It is not overhead. It is load-bearing structure.
Here is what happens without contracts: an engineer renames a column in a staging model, the marts that depend on it fail silently or — worse — start returning nulls, and three days later a stakeholder notices the numbers look wrong. The root cause takes an afternoon to find.
With contract.enforced: true, dbt will refuse to build a model if its actual schema does not match the declared schema. The failure is loud, immediate, and actionable.
# stg_example_orders.yml
models:
  - name: stg_example_orders
    config:
      contract:
        enforced: true
    columns:
      - name: order_id
        description: "Unique identifier for each order."
        data_type: varchar
      - name: order_date
        description: "Date the order was placed."
        data_type: date
But the starter kit goes further. A Pydantic validation script runs in CI and checks that:
- every .sql file in models/ has a corresponding .yml file
- every .yml file uses version: 2
- every column has both a name, a description, and a data_type
- contract.enforced is set to true
If any of these checks fail, the CI pipeline fails. There is no way to merge a model that skips documentation. This is the kind of guardrail that feels annoying the first week and becomes invisible by the second month, because everyone just does it.
Linting and Pre-commit: Catch Issues Before They Hit the Repo
Code review should focus on logic, not formatting. Formatting debates in pull requests are a waste of everyone’s time, and they leave room for real issues to slip through because reviewers are distracted by indentation.
The starter kit uses pre-commit hooks to enforce consistency before code ever reaches a pull request. The .pre-commit-config.yaml wires together four tools:
SQLFluff handles SQL formatting and style. It is configured with the Snowflake dialect and the dbt templater, which means it understands Jinja and can lint your actual dbt models rather than treating {{ ref('...') }} as a syntax error.
Ruff handles Python. The accompanying pyproject.toml manages the project as a Python package using uv, which makes dependency management reproducible across machines and CI environments.
yamllint catches malformed YAML before it causes confusing dbt parse errors. A missing space after a colon in a schema file is the kind of bug that wastes twenty minutes.
gitleaks scans for secrets. Warehouse credentials and API keys should never be committed. This is non-negotiable in an enterprise context, and having it run automatically means you never have to rely on “we trust developers to remember.”
Running pre-commit install after cloning the repo is a one-time step. After that, every commit is automatically validated before it leaves the developer's machine.
CI/CD Workflows That Actually Run dbt
Pre-commit catches local issues. CI catches everything that slips through and enforces standards across the entire team, including contributors who have not set up pre-commit locally.
The starter kit includes four GitHub Actions workflows:
lint.yml runs ruff, SQLFluff, and yamllint on every pull request. Fast feedback, no warehouse required.
validate-model-metadata.yml runs the Pydantic validation script. This is a separate job because it is distinct from linting — it is checking semantic correctness of your documentation, not code style.
dbt-build.yml runs dbt debug followed by dbt build against a Snowflake CI environment. This is the workflow that actually compiles and runs your models to prove the build succeeds. Credentials are passed via environment variables; the included profiles/profiles.yml shows exactly which variables are expected.
gitleaks.yml scans the full repository history for secrets. This runs on push to main and on pull requests, because catching a committed secret on the branch is better than catching it after merge.
Together these four workflows mean that nothing can be merged to main unless the SQL lints, the YAML is valid, the metadata is complete, and the dbt build succeeds against a real warehouse. That is a strong guarantee.
Two Macros Every Project Needs
Of all the things in the starter kit, these two macros are the ones I see omitted most often on teams that later regret it.
generate_schema_name controls how dbt constructs schema names in the warehouse. Without this macro, dbt uses its default behavior, which means every developer writing to their personal development environment risks colliding with the production schema if environment variables are not set perfectly. The macro in the starter kit enforces a clear convention: in production, models land in their configured schema; in development, they land in a developer-specific prefix so that dbt build in a dev environment never touches production data.
{% macro generate_schema_name(custom_schema_name, node) %}
  {#
    Production:
      - Use folder-level +schema (custom_schema_name) when defined
      - Otherwise fall back to target.schema (e.g. dbt_analytics)
    Non-prod (dev, ci, etc.):
      - Always use target.schema from the profile (e.g. dbt_joachimhodana),
        so everything builds into your personal dataset.
  #}
  {% if target.name in ['prod', 'dev', 'qa', 'ci'] %}
    {{ custom_schema_name or target.schema }}
  {% else %}
    {{ target.schema }}
  {% endif %}
{% endmacro %}
query_tag sets a Snowflake query tag on every query dbt runs. This means that when you open Snowflake's query history, you can see exactly which dbt model triggered a query, which environment it ran in, and which layer it belongs to. This is observability you will use constantly when debugging performance issues or tracking warehouse costs by layer.
The macro is applied via a pre-hook in dbt_project.yml at the layer level, so staging queries are tagged differently from mart queries with no per-model configuration required.
Testing Strategy: Unit Tests and dbt-expectations
The default dbt tests — not_null and unique — are a starting point, not a strategy. They will catch obvious data quality failures but miss the subtler ones: wrong calculations, unexpected distributions, rows that should exist but do not.
The starter kit includes dbt-expectations as a package dependency. This library ports many of the Great Expectations test patterns into dbt-native YAML. You can assert that a column's values fall within a specific range, that the row count of a model is above a minimum threshold, or that a column matches a regex pattern.
- name: order_amount
  tests:
    - dbt_expectations.expect_column_values_to_be_between:
        min_value: 0
        max_value: 1000000
The starter kit also includes an example unit test. Unit tests in dbt let you test a model’s logic in isolation by providing mock input data and asserting what the output should look like. This is especially valuable for intermediate models with complex logic — you can test edge cases without needing a full data refresh.
The Packages Worth Adding From Day One
Four packages come pre-configured in project/packages.yml:
dbt-labs/codegen generates YAML schema files from existing models. When you inherit a legacy project with no documentation, this is the fastest way to create a baseline you can then enrich.
dbt-labs/dbt_utils provides a collection of commonly needed SQL utilities: surrogate key generation, date spine creation, pivot helpers. You will use these sooner than you expect.
calogica/dbt_expectations was covered above. Advanced data quality testing that goes well beyond the built-in tests.
Matts52/dbt_orphan is the one most teams have not heard of. It identifies and optionally drops warehouse tables that dbt no longer manages — the leftover debris from renamed or deleted models. The starter kit includes a commented-out on-run-end hook showing how to wire it in. Enabling it in production is a one-line change.
Get the Template
Clone the repository and you will have a working project skeleton with all the tooling configured and ready to run:
git clone https://github.com/lortechsolutions/dbt-starter-kit
cd dbt-starter-kit
uv sync
cd project
dbt debug
Before you start building, there are four things to adapt to your organization: update CODEOWNERS with the right GitHub handles, fill in your Snowflake credentials in the environment variables expected by profiles.yml and rename the dbt project in dbt_project.yml
Everything else — the folder structure, the CI workflows, the macros, the validation script, the pre-commit hooks — is ready to use as-is.
The goal of this template is not to be prescriptive about every detail of how you build your models. It is to eliminate the decisions that every enterprise dbt project eventually makes the same way, and to make the good defaults automatic rather than aspirational.
Joachim Hodana - Software & Data Engineer
Enterprise dbt Project Setup: A Starter Kit That Scales was originally published in Lortech Solutions Blog on Medium, where people are continuing the conversation by highlighting and responding to this story.